How to Create and Configure Quotation Request Forms
Quotation Request Forms in BizCore enable businesses to capture leads directly from potential customers or partners. These forms streamline the process of collecting information, automatically generating leads in your CRM system, and ensuring your sales team can follow up promptly.
This guide provides a step-by-step walkthrough for creating a new Quotation Request Form, customizing its appearance, defining its behavior upon submission, and setting up notifications for your team.
Prerequisites
Before creating a Quotation Request Form, ensure that you:
– Have administrator or marketing permissions in the BizCore system.
– Have determined the required fields and preferred workflow for processing leads.
– Know which team members should be assigned or notified about new leads.
Access the Quotation Request Forms
1. Log in to your BizCore administrator account.
2. From the main navigation menu, click Setup.
3. Under the Quotation Request section, click Forms.
This will display a list of existing forms, if any are already configured.
Create a New Form
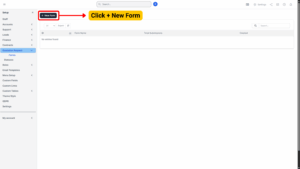
1. Click + New Form to create a new Quotation Request Form.
2. You will be taken to the configuration page where you will see four sections:
– General
– Branding
– Submission
– Notifications
Each section must be configured carefully for the form to work as intended.
Configure Each Section
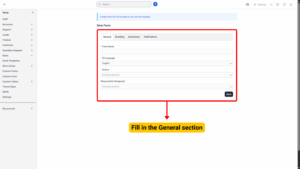
A. General
The General section defines the core settings for your form.
| Field | Description |
|---|---|
| Form Name* | Provide a descriptive name for the form (e.g., “Website Quotation Request”). |
| Language* | Select the language for form validation messages (e.g., English, Malay). |
| Lead Title Prefix | Enter text to prefix the name of each newly created lead (e.g., “Web-Lead-“). This helps in easier identification. |
| Source* | Choose the lead source (e.g., Website, Referral). |
| Status* | Select the initial status for the lead (e.g., New, Pending Review). |
| Responsible (Assignee)* | Assign a responsible person or team who will handle leads generated by this form. |
Note
Make sure to choose a responsible person who actively monitors new leads to ensure quick follow-up.

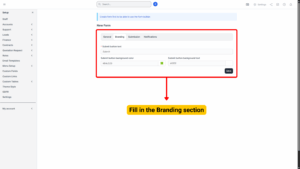
B. Branding
The Branding section allows you to customize the look of your form’s submission button to match your company’s branding.
| Field | Description |
|---|---|
| Submit Button Text* | Enter the text you want to appear on the submit button (e.g., “Request a Quote”). |
| Submit Button Background Color* | Choose the background color (hex code or color picker). |
| Submit Button Text Color* | Set the text color to ensure readability. |
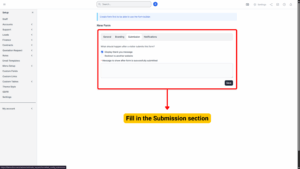
C. Submission
The Submission section controls what happens after a user submits the form.
| Option | Description |
|---|---|
| Post-Submission Action* | Choose one:
Display thank you message – Shows a message on the page. Redirect to another website – Sends the user to a specific URL (e.g., a thank-you landing page). |
| Message to Show After Submission* | Enter a confirmation message that users will see if you selected “Display thank you message” (e.g., “Thank you for your request! Our team will contact you soon.”). |
| Auto Mark as Public | Tick to make leads visible publicly (optional). |
| Allow Duplicate Lead | Tick if you want to allow duplicate leads to be created in the database (e.g., if the same person submits multiple requests). |
Note
Untick “Allow Duplicate Lead” unless you need to capture multiple submissions from the same person for tracking purposes.
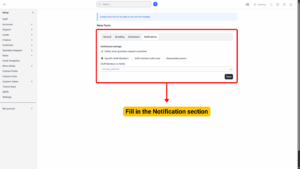
D. Notifications
This section lets you set who gets notified when a new lead is created through this form.
| Option | Description |
|---|---|
| Notify When Lead Imported | Tick to send notifications when a new lead is added through this form. |
| Notify Specific Staff Members | Tick and then select staff members from the list to notify them individually. |
| Notify Staff Members with Roles | Tick and choose one or more roles (e.g., Sales, Support) to notify everyone with that role. |
| Notify Responsible Person | Tick if you want the assigned responsible person to be notified automatically. |
Save the Form
1. Review all sections for accuracy.
2. Click Save to finalize the form configuration.
3. The form is now ready to be embedded on your website or used in your campaigns.