Opportunity Overview
Once an opportunity has been created, you can manage it directly from the Opportunity Overview page. This section provides a central hub where you can perform actions, track updates, and convert opportunities into quotations or invoices. It also includes collaboration tools such as comments, reminders, and notes, ensuring the sales process remains organized and transparent.
Actions in the “More” Menu
1. When you click on the More dropdown in the opportunity overview, you will find several options:
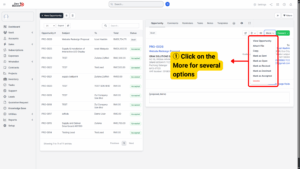
a) View Opportunity – Displays the opportunity in detail, including client information, project association, and listed items.
b) Attach File – Allows you to upload supporting documents such as proposals, brochures, or technical specifications.
c) Copy – Duplicates the opportunity for reuse. This is helpful if you frequently send similar proposals.
d) Mark as Sent – Updates the status to indicate that the opportunity has been shared with the client.
e) Mark as Revised – Used when changes are made and a new version of the opportunity needs to be resent.
f) Mark as Declined – Records that the client has rejected the opportunity.
g) Mark as Accepted – Updates the opportunity status to accepted when the client agrees.
h) Delete – Permanently removes the opportunity from the system if it is no longer needed.
2. From the overview, you can also click on the Convert button. This allows you to:
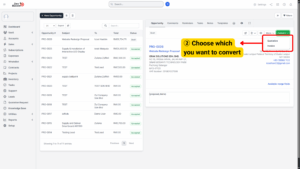
a) Convert to Quotation – Generates a formal quotation document directly from the opportunity without re-entering item details.
b) Convert to Invoice – Creates an invoice immediately if the client has already committed to purchase.
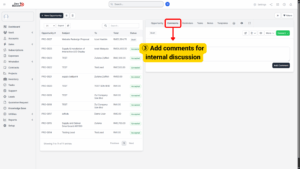
Collaboration Tools
In addition to actions and conversion, the opportunity overview includes several collaborative tools:
a) Comments – Team members can add comments for internal discussion or client communication.
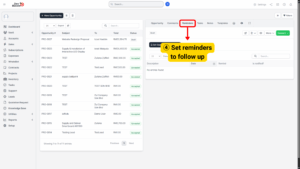
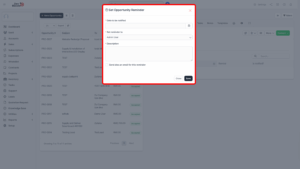
b) Reminders – Set reminders to follow up with the client before the “Open Till” date expires.
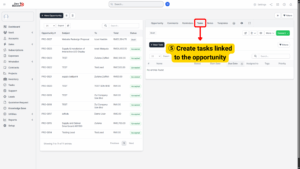
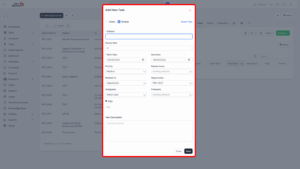
c) Tasks – Create tasks linked to the opportunity, ensuring follow-up actions (like scheduling meetings or preparing demos) are tracked.
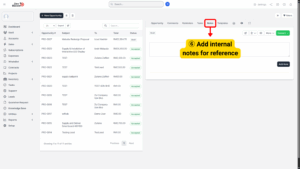
d) Notes – Add internal notes for reference, such as negotiation points or client preferences.
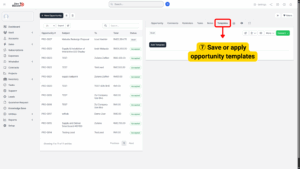
e) Template – Save or apply opportunity templates for faster creation of similar deals.
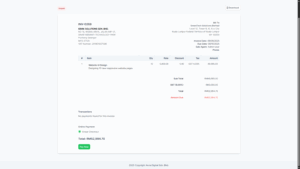
Client Interaction
Clients also have direct access to opportunities that are sent to them.
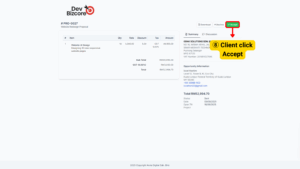
1. When a client opens the opportunity, they can review all details, including items, pricing, and terms.
2. If the client agrees, they can click Accept.
3. To confirm acceptance, the system will prompt them to provide verification details:
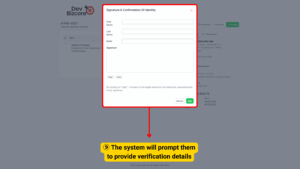
a) First Name
b) Last Name
c) Email Address
d) Signature (digital signature box)
4. Once the client submits their acceptance, the opportunity will automatically be marked as Accepted, and the confirmation details (including the digital signature) will be stored as proof of agreement.