Expenses
The Expenses feature allows businesses to record, track, and manage financial outflows in an organized manner. By storing expense data in the system, companies gain better visibility of their spending, improve accountability, and ensure accurate reporting. Expenses can also be linked to projects or marked as billable so they can be invoiced back to clients when necessary.
Adding a New Expense
1. Go to the Expenses section from the dashboard.
2. Click + Record Expense.
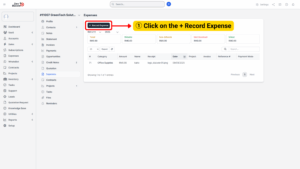
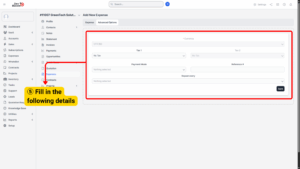
3. Fill in the required details:
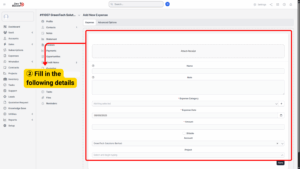
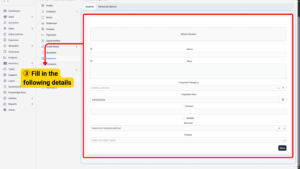
a) Receipt – Upload a digital copy of the receipt as proof of payment.
b) Name – Enter a short descriptive name .
c) Notes – Add supporting details for internal use.
Info
Add notes to a receipt for personal usage.
If billable, the name can be added to the invoice long description.
d) Expense Category – Choose from the available categories:
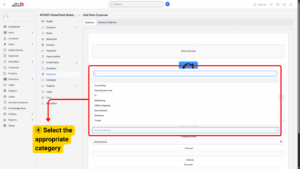
Expense Categories
- Consulting – Fees paid to consultants or external advisors.
- Hosting Services – Expenses related to website or server hosting.
- IT – Hardware, equipment, or technical service costs.
- Marketing – Advertising, promotional campaigns, or branding costs.
- Office Supplies – Stationery, furniture, and other office materials.
- Requirement – Special purchases required for projects or operations.
- Software – Licensing or subscription fees for software applications.
- Travel – Transportation, accommodation, and travel-related costs.
e) Expense Date – Specify the date of the transaction.
f) Amount – Input the total expense value.
g) Project – Link the expense to a project if applicable.
Advanced Options
For more precise tracking, you may open Advanced Options to enter:
a) Tax – Apply tax values for compliance.
b) Payment Mode – Choose the payment method.
c) Reference – Add transaction details.
d) Repeat Every – Set recurring expenses.